Pantry Basics: Homemade XO Sauce
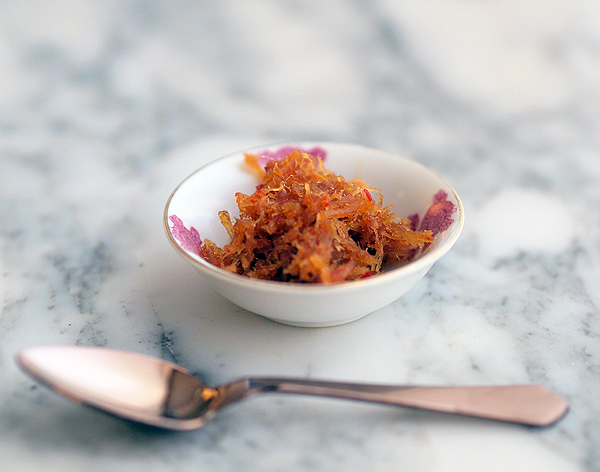
I’d never really thought about making XO sauce—a deliciously spicy and umami condiment that first gained popularity in Hong Kong in the Eighties—in the past because the process seemed mysteriously complex. Generally consisting of dried scallops and shrimp paired with chillies, and a blend of shallots and garlic, the recipe for most signature XO sauces served at famous Chinese restaurants are closely guarded. CH and I love the XO sauce from The Peninsula Hong Kong (Spring Moon, the Chinese restaurant at The Pen is often credited with creating the very first XO sauce), as well as Chef Yong Bing Ngen’s elegant version at The New Majestic. And while we’ve never bought XO sauce for ourselves, we’ve always hoarded the ones we received as gifts. Even when served sparingly, it elevates the simplest dishes to something exceptional.
It was only when I read my sister-in-law J’s generously precise recipe for her irresistible homemade XO sauce (she had served the pasta dish pictured as part of a lavish birthday spread for me) that I was inspired to make my own. Since reading her post, I’ve carried her recipe in my Blackberry in the hope of finding an opportune moment to gather the requisite ingredients. Well, I finally attempted J’s recipe for XO sauce a few weeks back because I wanted to present the many new friends we were planning to meet in Japan with something homemade. While it was time-consuming to prepare, making the XO sauce wasn’t too difficult. It goes without saying that we love the fact that J uses bacon in place of traditional Jinhua ham in her XO sauce. She also calls for a fair bit more sugar than most other recipes I’ve seen. The resulting XO sauce deftly balances the intense sea-saltiness that we prize in our dried seafood with gentle heat and a nice hit of sweetness that rounds out its umami flavour. To enjoy the XO sauce with gyoza, we heated it with a little soy sauce and fiery nama shichimi (生七味) just before we served it. Some chilli oil with soy sauce or salt would also do the trick. A generous portion of the XO sauce tossed into fried rice towards the final stages of frying also perked up the already delicious dish quite dramatically.
We’ve noticed that at really good Chinese restaurants, they fry their XO sauce just before serving it, giving it a nice veneer of crispness. We’ve taken to doing the same. And J’s XO sauce works wonderfully well when treated as an exceptional base that can be finely calibrated with a smidgen of extra spice or a tiny dash of savouriness depending on what we’d like to serve it with. Her XO sauce recipe is a real keeper. It’s a family secret I thought I ought to share.
XO Sauce
From Kuidaore.
Makes 5 cups
225g dried scallops
200g dried shrimp
200g shallots, peeled and coarsely chopped
10 garlic cloves, peeled and coarsely chopped
150g fresh red chillies, de-seeded and coarsely chopped
400ml peanut oil
100g dark brown muscovado sugar
100g streaky bacon, finely minced
Soak the dried scallops in 2/3 cup of tepid water in a heat proof dish for 1 hour–almost all the water will be absorbed, and the dried scallops should be sufficiently softened such that they break apart when gently pressed. Steam until tender, which will take 30-90 minutes (depending on the size of the scallops. My broken pieces took 90 minutes). Remove dish from heat and let cool, reserving the juices. Finely shred the scallops. Set aside.
Rinse the dried shrimp under tepid tap water. Drain. Pat dry. Grind into a fine floss using a food processor (or use a mixie if you have one). Scrape out and set aside in a separate bowl.
Using the pulse function, grind the shallots until finely minced. Scrape out and set aside in a separate bowl.
Using the pulse function, grind the garlic and chillies together until finely minced. Scrape out and set aside in a separate bowl.
Heat the oil in a large heavy pan (I used a cast iron one) over medium high heat. Fry the shallots, dried shrimp and sugar until the sugar begins to caramelize, stirring constantly. Add the garlic and chilli mixture, bacon, dried scallops and their reserved steaming juices. Turn heat down to medium. Continue to fry for about 30 minutes, stirring constantly. The finished condiment should be highly aromatic and a deep russet hue.
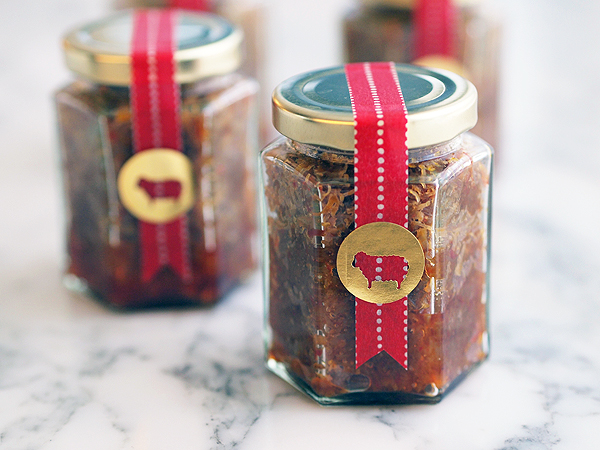
Remove from the heat and let cool completely. Store in airtight containers in the refrigerator for up to 2 weeks. Or freeze for up to 2 months; thaw overnight in the refrigerator before using.
About Su-Lyn Tan
Su-Lyn is Aun's better half and for many years, the secret Editor behind this blog known to readers simply as S. Su-Lyn is an obsessive cook and critical eater whose two favourite pastimes are spending time with her three kids and spending time in the kitchen. She looks forward to combining the two in the years to come.


just made this, and its lookin’ good! will make great xmas gifts! but i doubled the amount of chilly and added some dried chilly too…
Dear Vidula, I’m glad you like it! The beauty of making your own XO sauce is being able to personalise it to your taste preferences 🙂