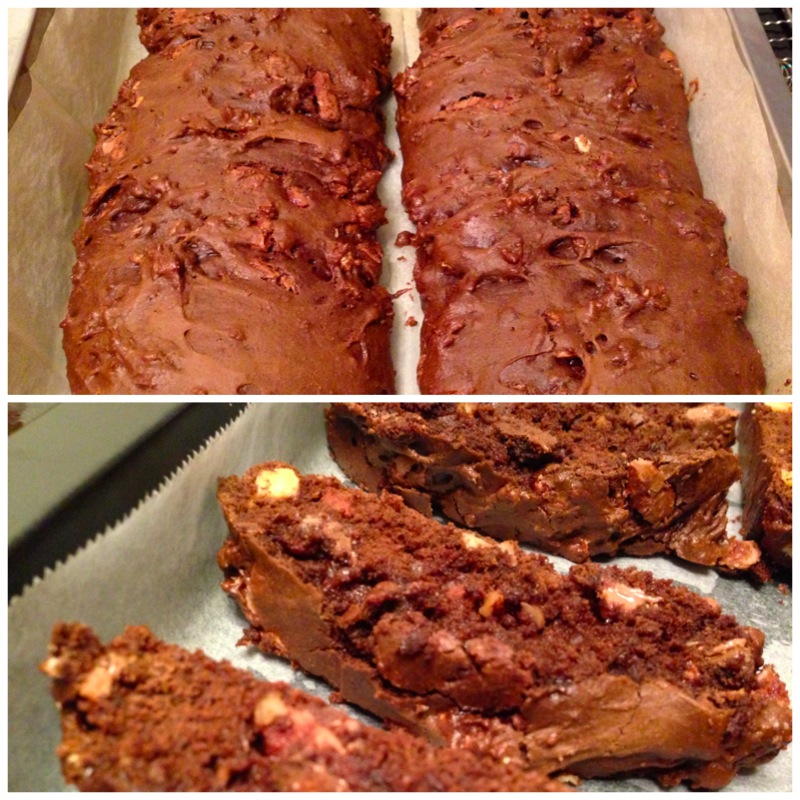
Chocolate biscotti
I made biscotti for the first time when I was looking for a baked good to whip up that didn’t involve butter (I’d run out and was too lazy to run out for some) and utilised whatever ingredients I already had in my pantry. What’s great about biscotti is that the options to customise the flavours and additions to suit your current fancy are really quite myriad. Pistachio, cashew or almond; dried cranberry, apricot or orange zest; chocolate dipped or otherwise, etc etc etc. My first couple of attempts at making biscotti was the classic almond recipe from the Kitchenaid recipe book that came with my little red baby; and subsequently, I moved on to this more decadent version that would be chocolatey enough for a post-meal sweet.
I used the recipe from David Lebovitz and very slightly adapted it. His recipe includes the option of dipping the baked product into melted dark chocolate. I’ve not done that, as I find the biscotti already gorgeously chocolatey enough. And best of all, I can somewhat kid myself into thinking that it’s reasonably healthy (and has protein in the form of almonds too) since there is no butter in the ingredients. Enjoy!
Chocolate Biscotti
from David Lebovitz
~ 50 cookies
Biscotti ingredients
2 cups (280g) flour
¾ cups (75g) top-quality cocoa powder*
1 teaspoon baking soda
¼ teaspoon salt
3 large eggs, at room temperature
1 cup (200g) sugar
1½ teaspoon vanilla extract
1 cup (125g) almonds, toasted and very coarsely-chopped (I toast raw almonds for a couple of minutes and then use a pestle and mortar to chop them into uneven chunks)
¾ cups (120g) semi-sweet chocolate chips (or coarsely chop from a bar of your favourite dark chocolate)
Glaze
1 large egg
2 tablespoons coarse sugar
Preheat the oven to 180°C degrees.
In a small bowl, sift together the flour, cocoa powder, baking soda, and salt.
In a large bowl, beat together the 3 eggs, sugar, and vanilla extract. Gradually stir in the dry ingredients, then mix in the nuts and the chocolate chips until the dough holds together.
Line a baking sheet with parchment paper or a silicone mat. Divide the dough in half. On a lightly floured surface, roll the dough into two logs the length of the baking sheet. Transfer the logs onto the baking sheet, evenly spaced apart.
Gently flatten the tops of the logs. Beat the egg for the glaze and brush the tops of the logs liberally with the egg (you won’t use it all). Sprinkle the tops with the coarse sugar and bake for 25 minutes, until the dough feels firm to the touch.
Remove the cookie dough from the oven and cool ~10 minutes. On a cutting board, use a serrated bread knife to diagonally cut the cookies into ½-inches slices. Lay the cookies cut side down on baking sheets and return to the oven for 15 minutes**, turning the baking sheet midway during baking, until the cookies feel mostly firm.
Once baked, cool the cookies completely then store in an airtight container for up to two weeks.
Sidenote: I particularly enjoy having the still-warm, just-baked biscotti with a cup of hot flavoured tea, such as TWG‘s creme caramel.
*Obviously, the taste and flavour of the finished product is dependent on the quality of your ingredients, so use a good quality cocoa powder (both natural or Dutch-process work).
**The original recipe calls for 20-30 mins, but I find that baking it the second time for around 15 mins makes the finished product more chewy and less crispy, which is the way I prefer biscotti to be.

About Charmaine Toh
Charmaine considers gluttony the most beautiful sin, and enjoys exemplifying it as she goes about her daily activities. Luckily for her, she currently lives in Hong Kong, the purported greatest city in Asia for everything to do with food (it’s a close fight with Singapore, where she was born and bred). These days she can be found (over)eating, thinking of what and where to eat next, and attempting various recipes in her kitchen.


What a coincidence….I happened to make biscotti this morning and then I chanced upon your post! It seems difficult to get a nice and sharply sliced surface. When I cut the loaf this morning, the texture was slightly cake-like and started to crumble when sliced into it. So mine ended up looking very rustic! How was your texture at that point?