The Upper House, Hong Kong launched some six years ago to a great deal of buzz. I remember…
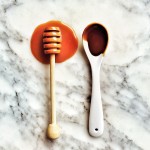
Pantry Basics: easy Thermomix condensed milk & soy sauce caramel
This is essentially my Singaporean riff on dulce de leche. It’s something I created to pair with a…

Pantry Basics: homemade kaya ice cream
This kaya ice cream is awesome served with French toast and drizzled with salted caramel. It would also…
Wanna make your own cool copper lamp? Take The U Factory Singapore workshop.
As a wife and mother who also runs a business full-time, it’s hard to find time for myself….

Bringing balance to a life of overeating: COMO Shambhala Urban Escape Singapore
I have never been able to make jumping onto the treadmill, hitting a ball across the court or doing…

Pantry Basics: Lamb Stew with Chard, White Beans & Coriander
For the longest time, chard was just something I’d only read about in cookbooks. It was one of…
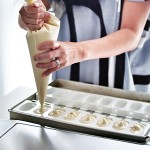
Pantry Basics: Easy Chocolate Ice Cream Shell
It’s definitely ice cream weather right now! You would think that to get a thin coat of chocolate…
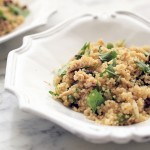
Pantry Basics: Lemon & Mint Quinoa Salad with Mackerel
Singapore may be in the tropics, but we’re experiencing a bit of a heat wave out here, too!…

Tips for a terrific family road trip
School’s out and I’m guessing that many of our readers will be hitting the road with their families…
Back to Top